


Hi everyone,
In this post, I would like to show you how to package your Spring Boot application using Docker.
You will learn how to create a Spring Boot application and how to generate a docker image. You will get understanding how Dockerfile is using. This will help you to be more confident developer. You will be able to use your Spring Boot application inside a Docker container.
This is our roadmap,
Create Spring Boot Application
First of all, we need to an application that run on web. I will use Spring Boot framework for this purpose. At this point, I am assuming that you are a backend developer which use in Spring Boot. If you are not, keep on reading this article to see how to do.
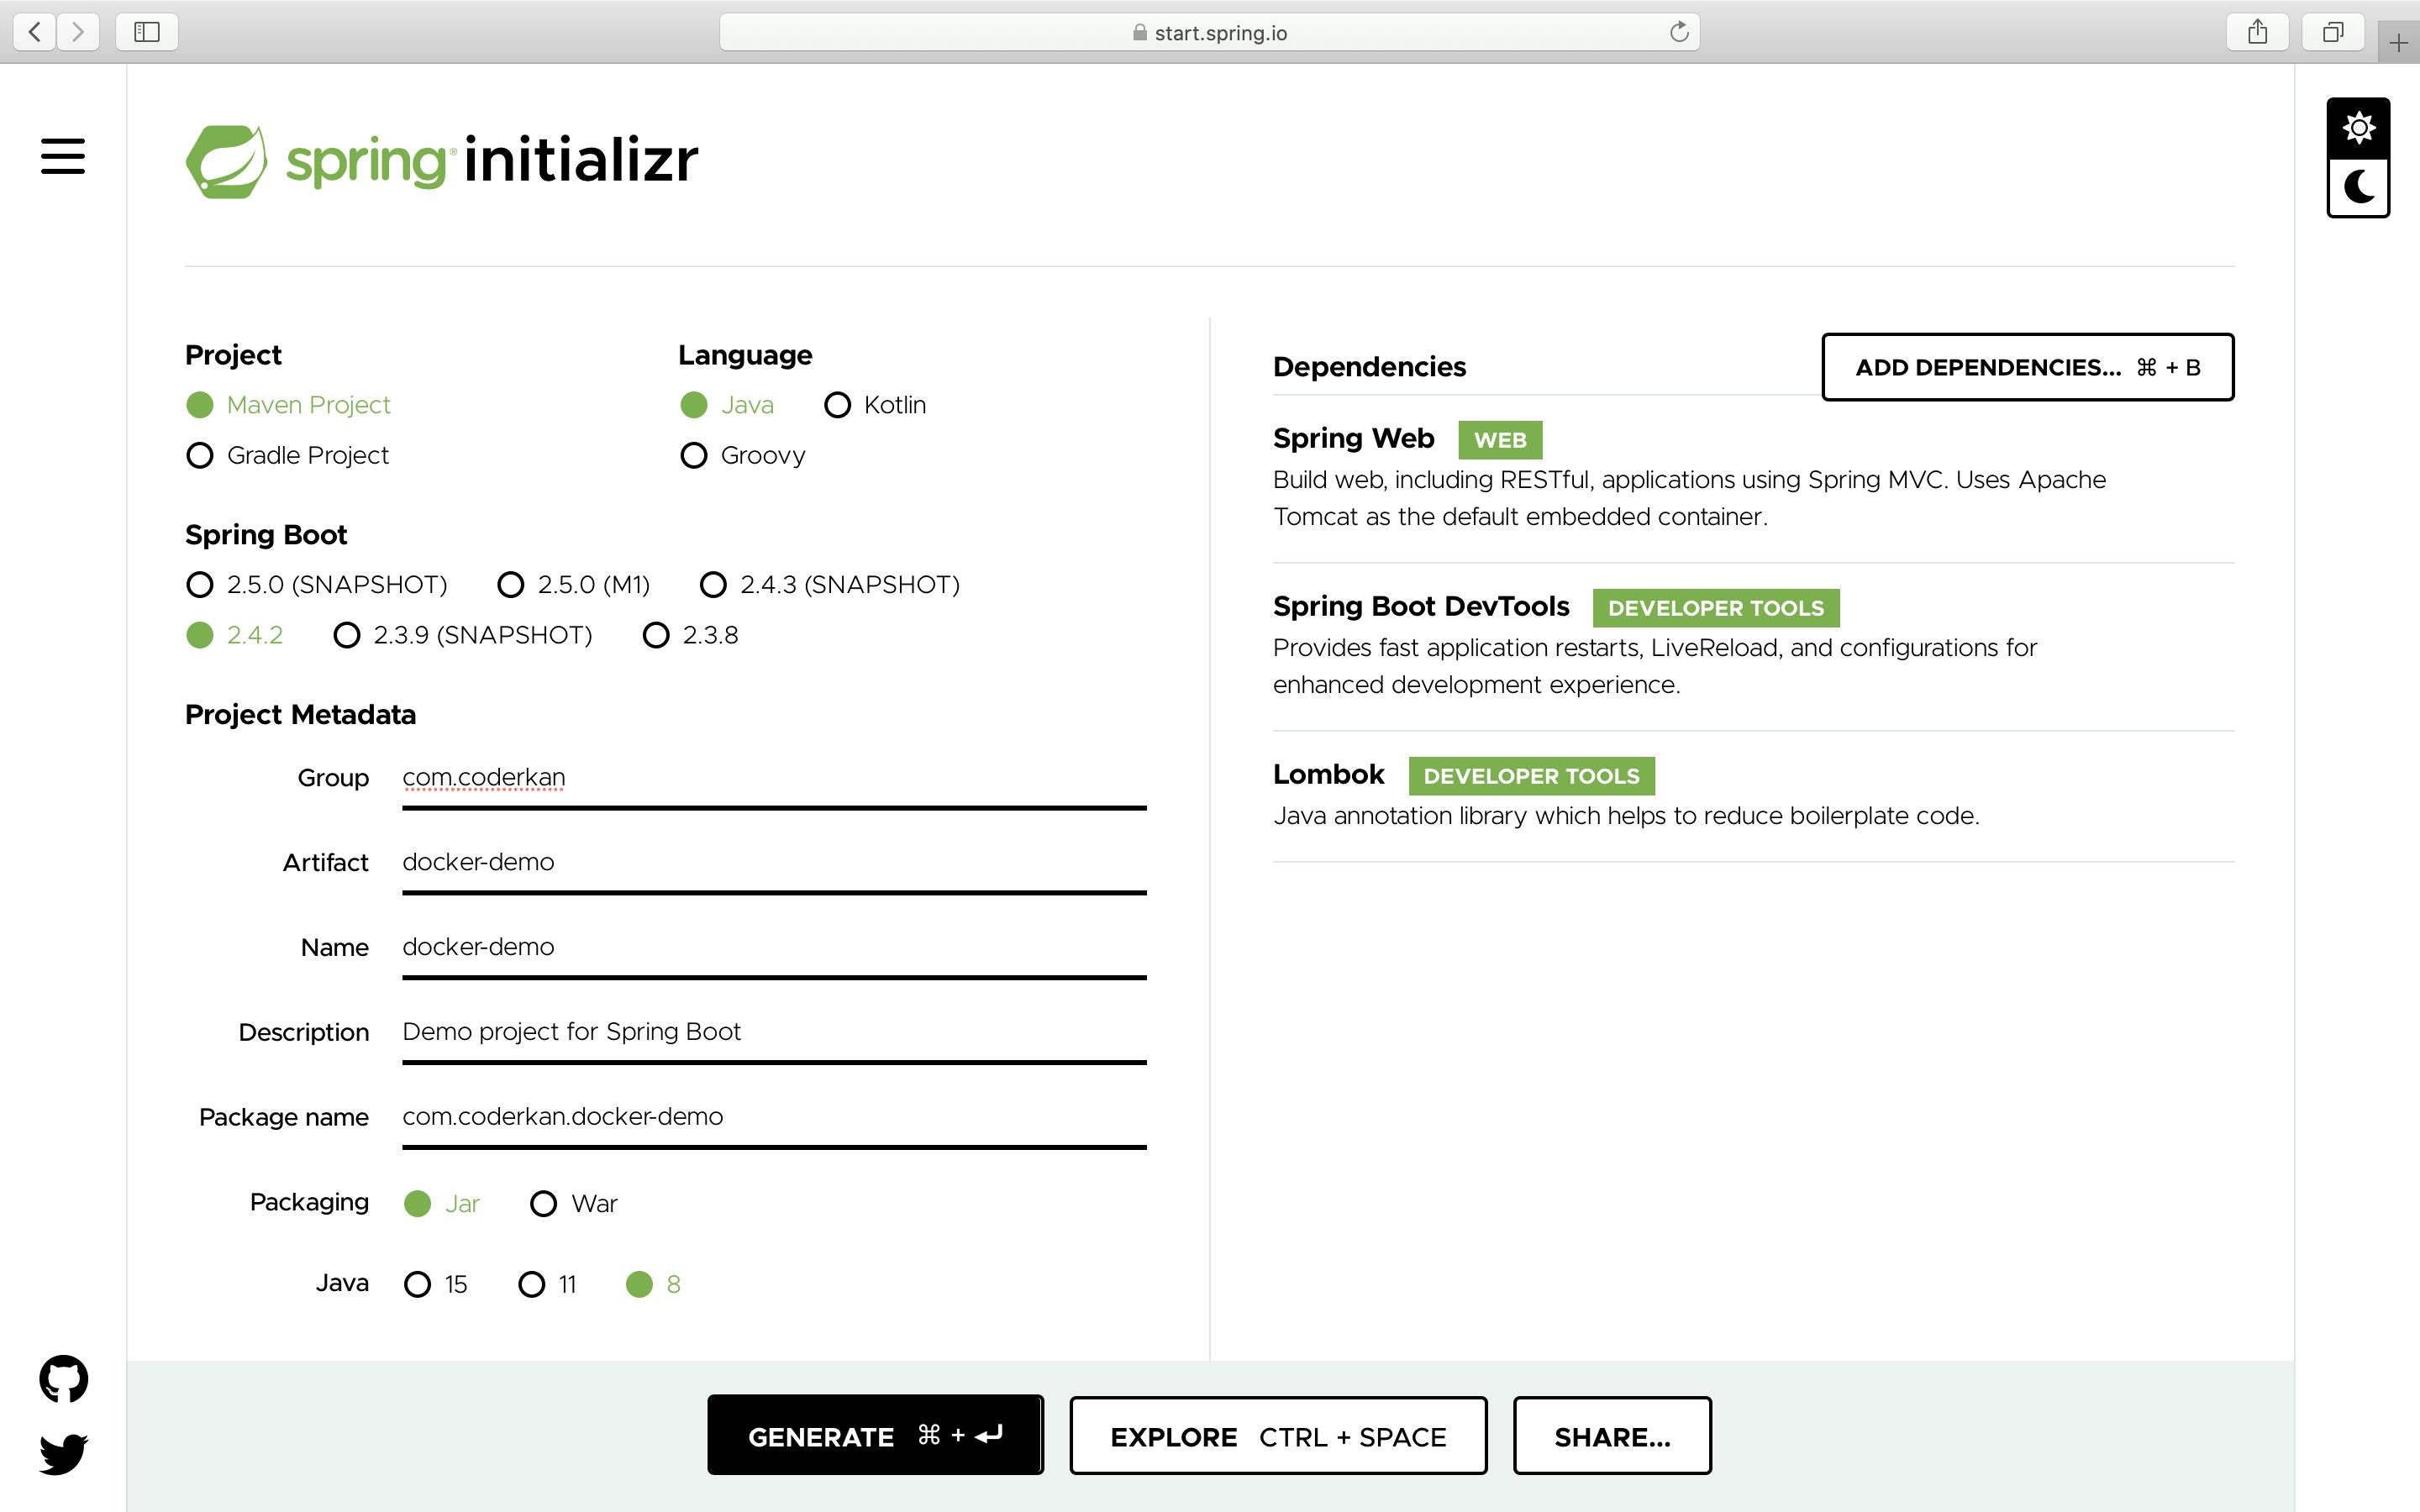
I try to explain what I do. Please follow below steps to create a new project. Firstly we need to create a project from Spring Initializr. You can go to this website and generate your project like below image. The project that I created is using maven, jar packaging, Java 8, Lombok, Spring Web, Spring Boot Devtools. You can see the configuration below image.
Download .zip file that generated from spring initializr. Extract it where you want in your file system. I will use unzip command to extract to my filesystem.
unzip docker-demo.zip
Open your IDE like Spring Tool Suite, Intellij etc. I will use STS for development environment. After that, you need to import this maven project to your workspace.
- Right-Click in your
Project Explorerin your STS workspace. - Click
importbutton.
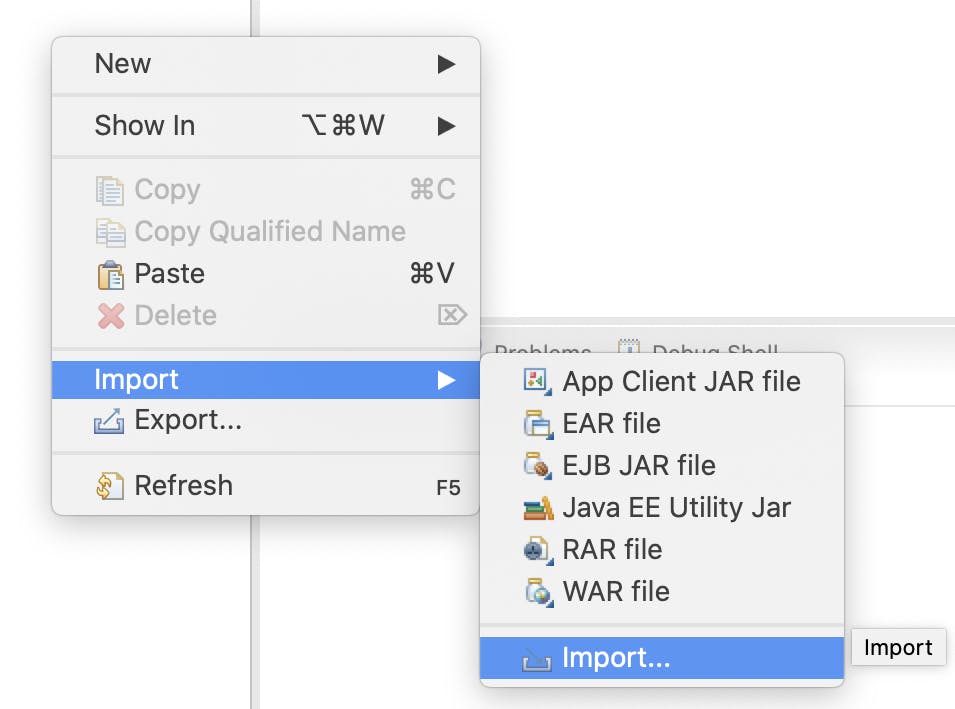
- After clicking
importbutton, you can typemavenin the dialog. - Select
Existing Maven Projects
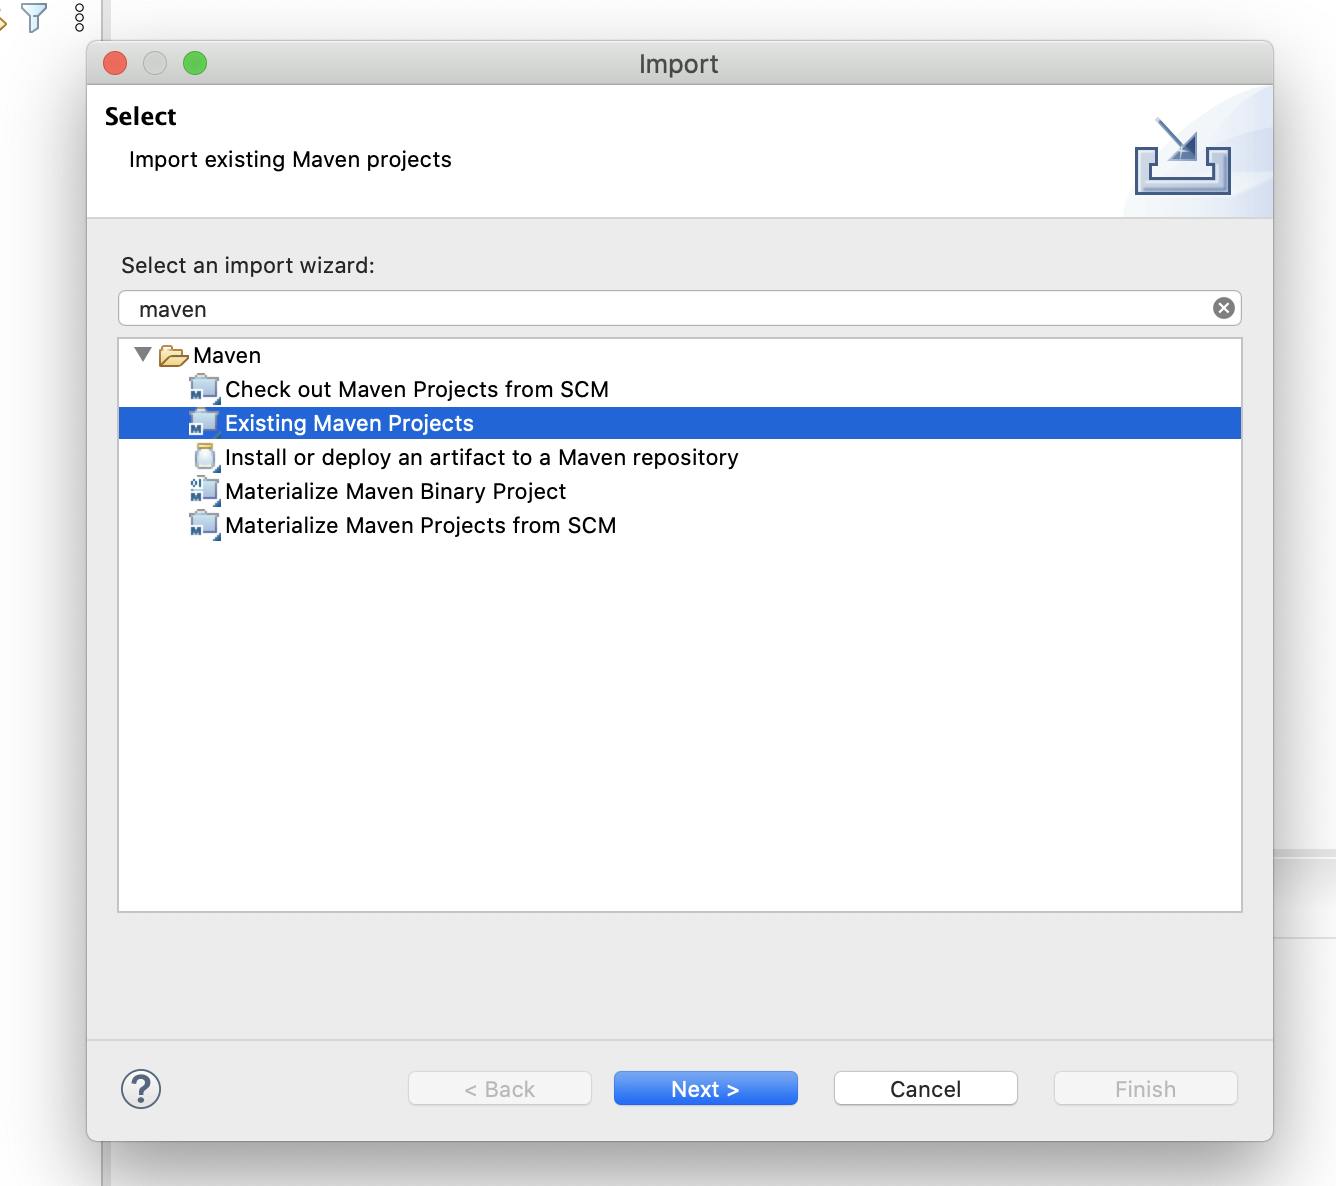
- Click
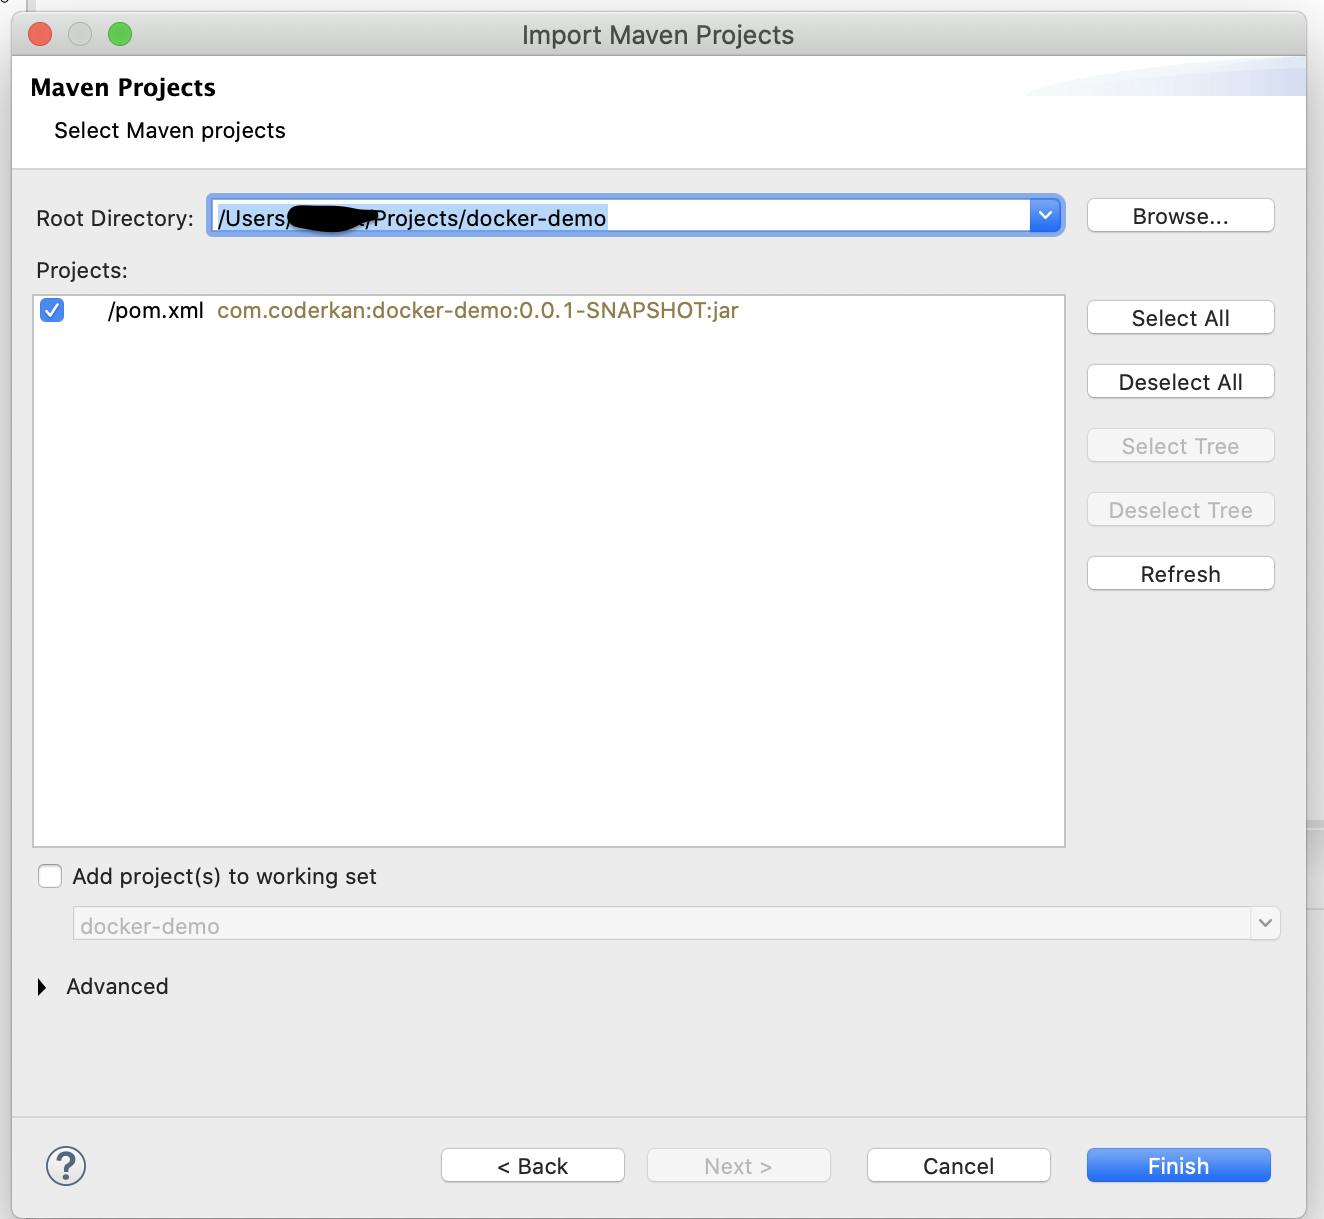
Browsebutton and select your unzipped project path. - If your project loaded successfully, you will see the
pom.xmlthat includes any information about your project. - Then click
Finishbutton to upload project to workspace.
After your project loaded successfully in your workspace, you will see the the progress bar at the right bottom that load the dependencies via maven. Then you will see below image after loading.
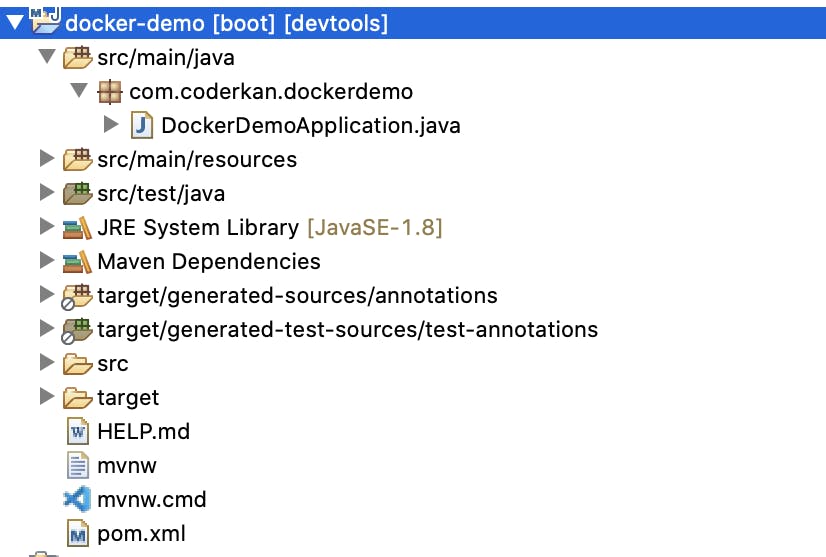
Now, you can run your app with eclipse feature like below.
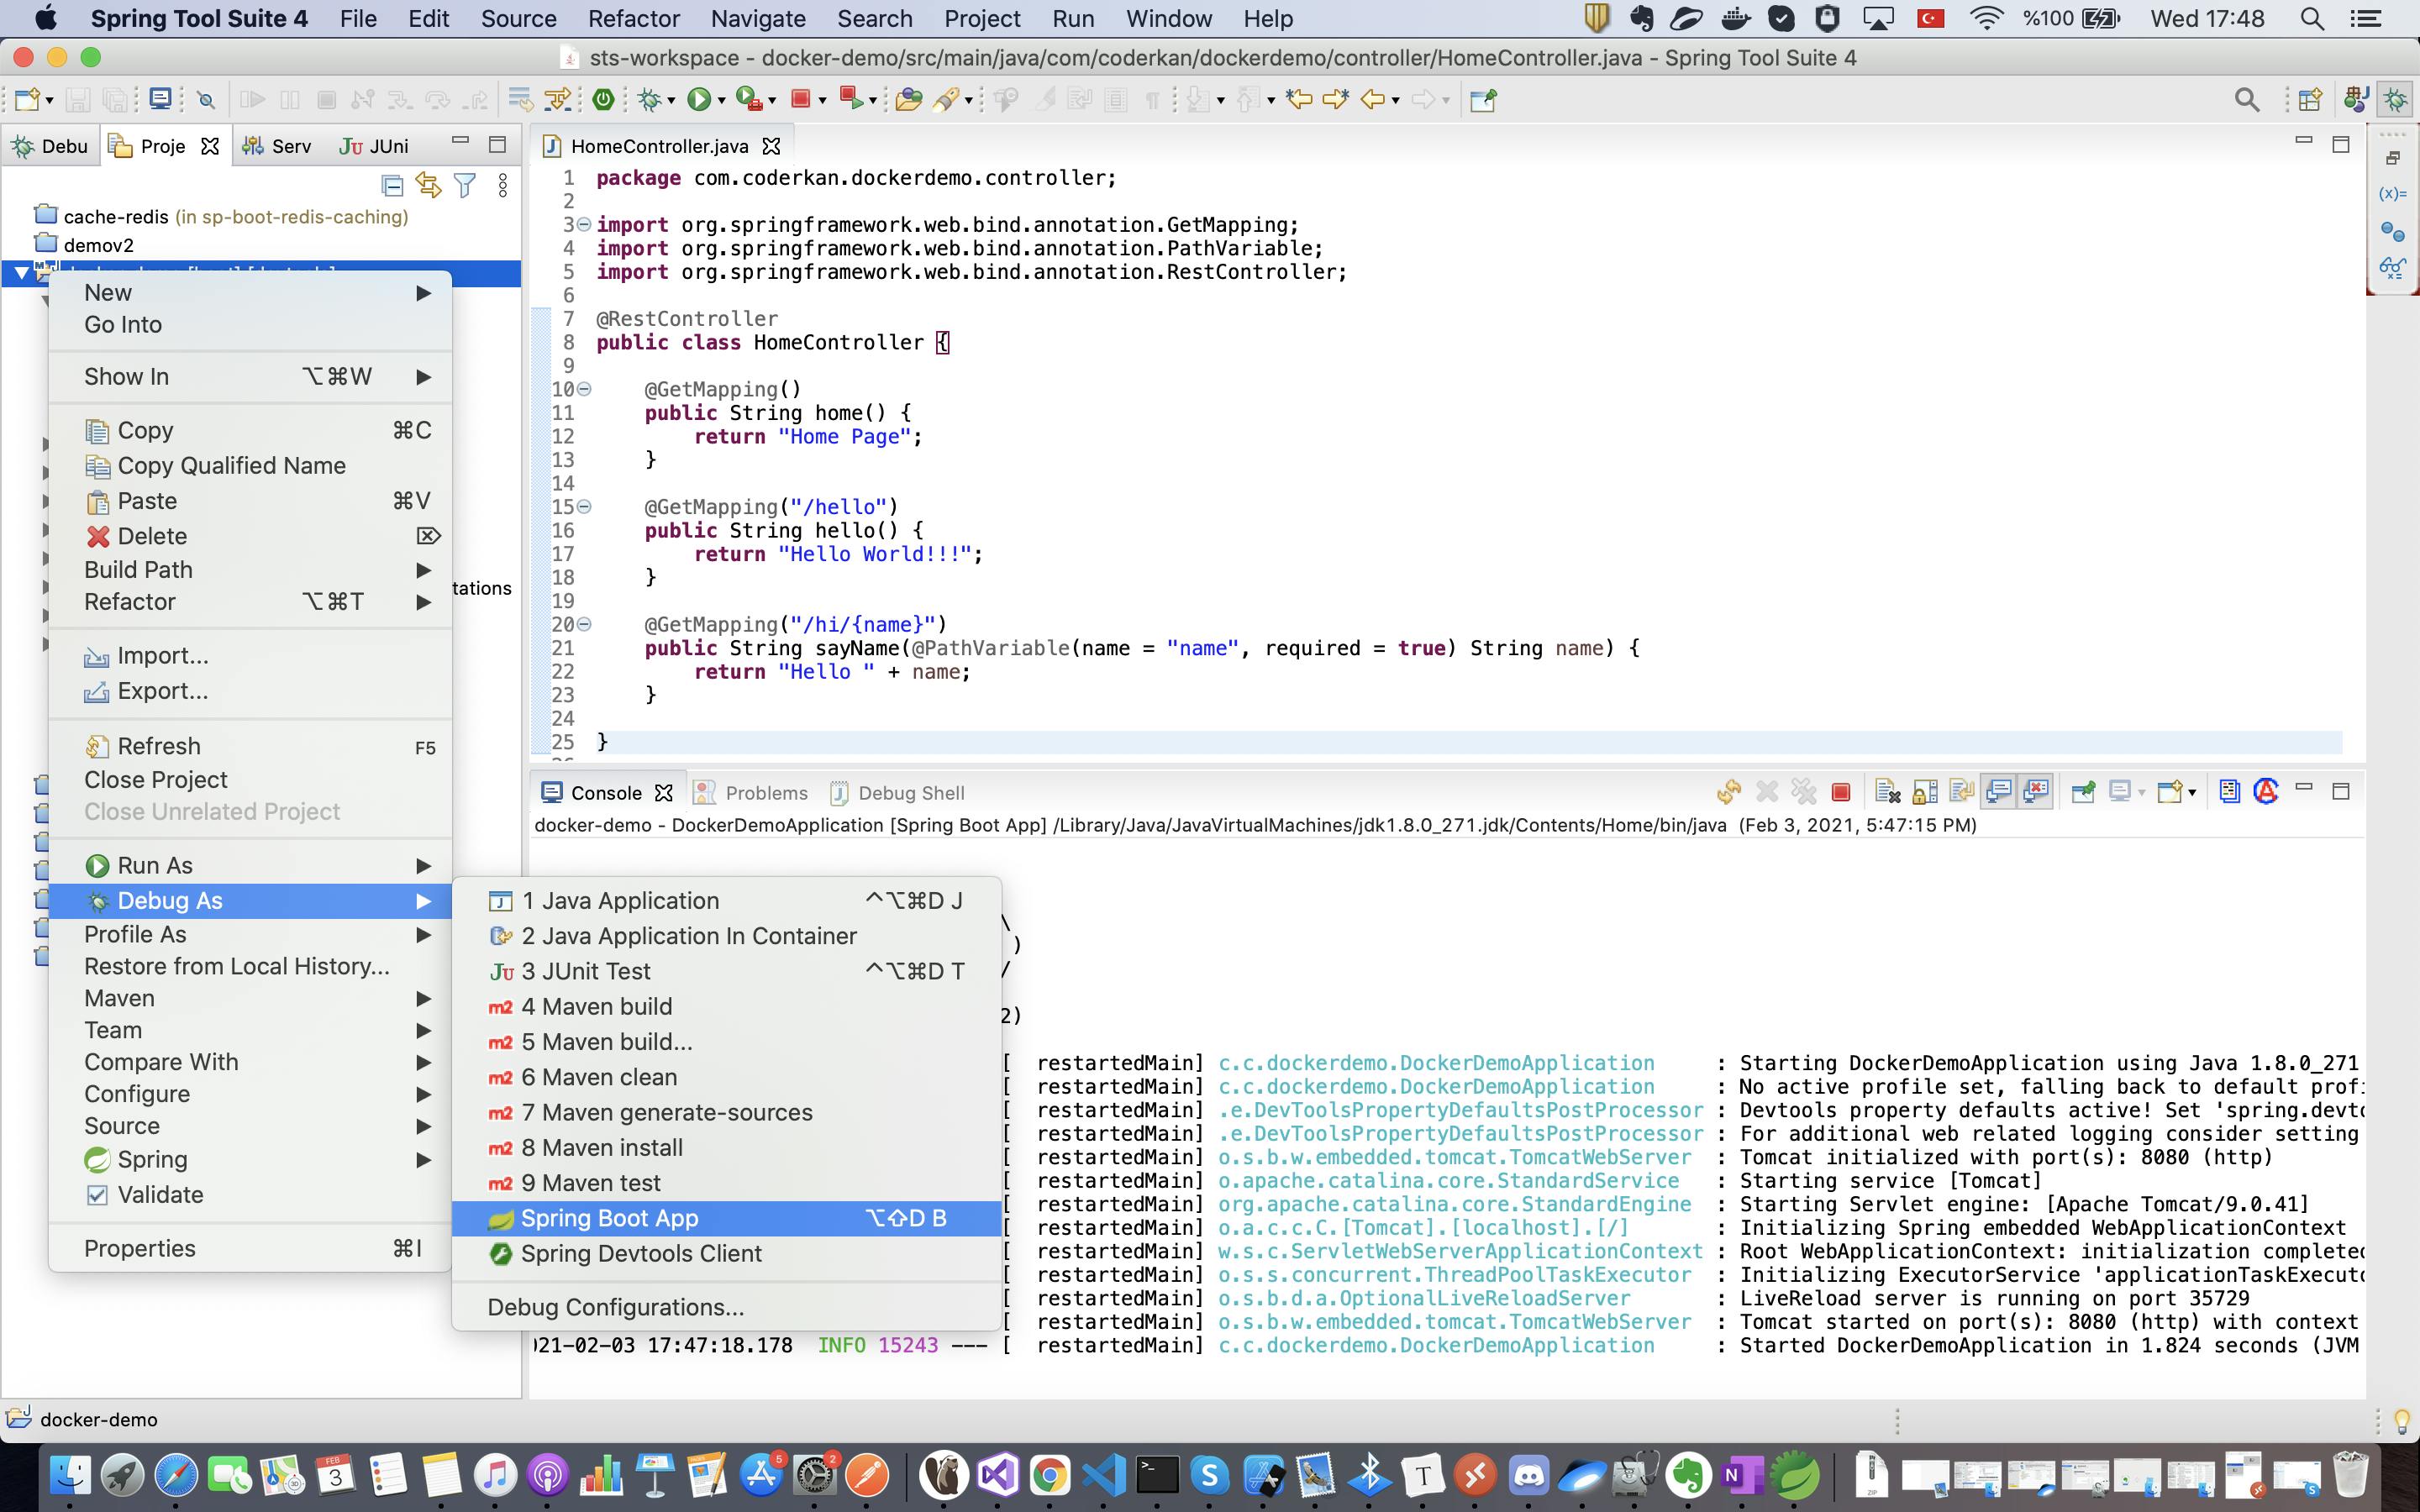
- Right-Click on the project in the workspace
Run-AsorDebug Asthen you can click toSpring Boot App.- Your application will run successfully, you can check the terminal outputs to see the details of running your application.
I have added simple controller to project and added some methods to see something when the application running. Project structure like below.
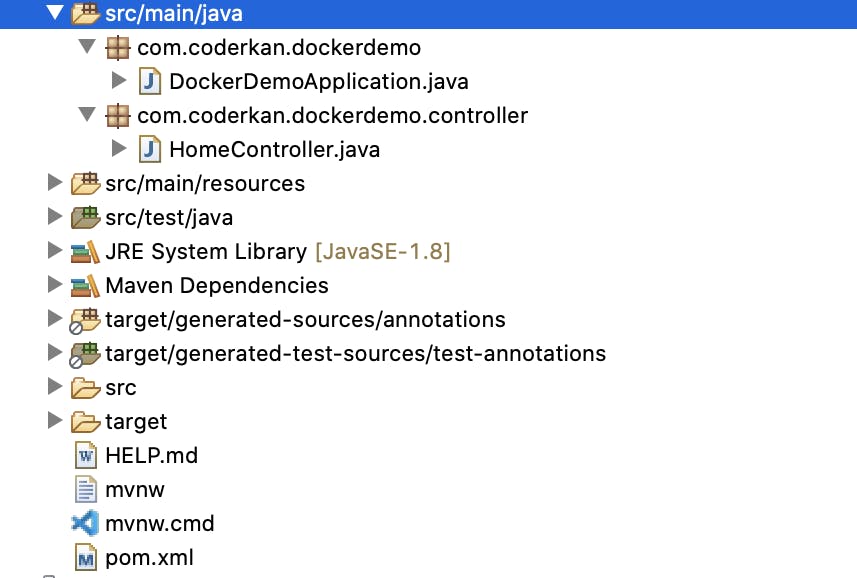
HomeController.java's detail is like below. There are some GET methods and return String value when the request is done.
http://localhost:8080return"Home Page"http://localhost:8080/helloreturn"Hello World"http://localhost:8080/hello/<some-string>returnHello <some-string>
@RestController
public class HomeController {

    @GetMapping()
    public String home() {
        return "Home Page";
    }

    @GetMapping("/hello")
    public String hello() {
        return "Hello World!!!";
    }

    @GetMapping("/hi/{name}")
    public String sayName(@PathVariable(name = "name", required = true) String name) {
        return "Hello " + name;
    }

}
This is a demo that show you your application's http requests and responses.

What is Docker?
Docker is simply a container solution for you. It is a tool designed to make it easier to create, deploy and run applications by containers. Containers helps you to package your application and its needs in one package. Because of that, you can publish your application anywhere without any problem.
You can also build your images and store them in DockerHub website. The Docker is also an open source project. You are free to extend your needs.
Add Dockerfile to Project
Before we do anything to project, please just follow the basic steps to accomplish this. First of all, you build your application. This is as simple as running the following command for Spring Boot application.
mvn clean install
If your application has been successfully packaged, you will see the <your-app-name>.jar file in the target folder. This is the only thing you need to run your application to real world.
I would like to explain some words that use in Dockerfile.
FROM keyword initializes a new build stage. A valid Dockerfile must start with FROM instruction.
ADD keyword copies new files to the filesystem of the image at path.
WORKDIR sets the working directory for any instructions in the Dockerfile.
ENTRYPOINT allows you to configure a container that will run as an executable.
First of all, please create a Dockerfile to your root file.
FROM openjdk:8
This is the first line of Dockerfile. I will use openjdk:8 image.
ADD ./target/*.jar /usr/src/my-sample-app.jar
This line is adding packaged fat jar to image filesystem.
WORKDIR usr/src
I would like to set working directory as usr/src.
ENTRYPOINT ["java","-jar", "my-sample-app.jar"]
We will write running fat jar command here. This will allow to run *.jar file in the container.
The full Dockerfile context that I created is below. If you would like to know more things for Dockerfile instructions, please read the Docker documentation.
FROM openjdk:8
ADD ./target/*.jar /usr/src/my-sample-app.jar
WORKDIR usr/src
ENTRYPOINT ["java","-jar", "my-sample-app.jar"]
So let's build and run the application with Docker as my-sample-docker-app:
docker build -t my-sample-docker-app .
docker run -it --rm -p 8080:8080 my-sample-docker-app
Yesss, the compiled application we run will start on port 8080 in docker image. You can go to http://localhost:8080 to view the application.
Demo
I have added a demo that run the application below.
Source code avaiable on github
You need to do practice on it. You will be faster by doing. Please try yourself, and I hope this post is useful for you.
I hope you enjoy while reading.
Have a nice coding.
Photo by Vidar Nordli-Mathisen on Unsplash